The Microscope Ritual: Using Macro Lenses to Bond with Your Stone
Inspecting Moldavite with a macro lens can be a calm, useful ritual. It helps you slow down and notice what is actually visible: surface texture, translucency, tiny cavities, bubble-like features, flow-like patterns, color shifts, and areas worth photographing more carefully.
What it cannot do is prove that your stone is genuine moldavite or confirm a named inclusion with certainty. A macro lens gives you a closer relationship with the object in your hand. It does not replace gemological or laboratory identification.
The best use is simple: look carefully, photograph consistently, write down what you see, and keep your conclusions modest. If authenticity, value, or formal inclusion verification matters, treat macro inspection as a first observation step, not the final answer.
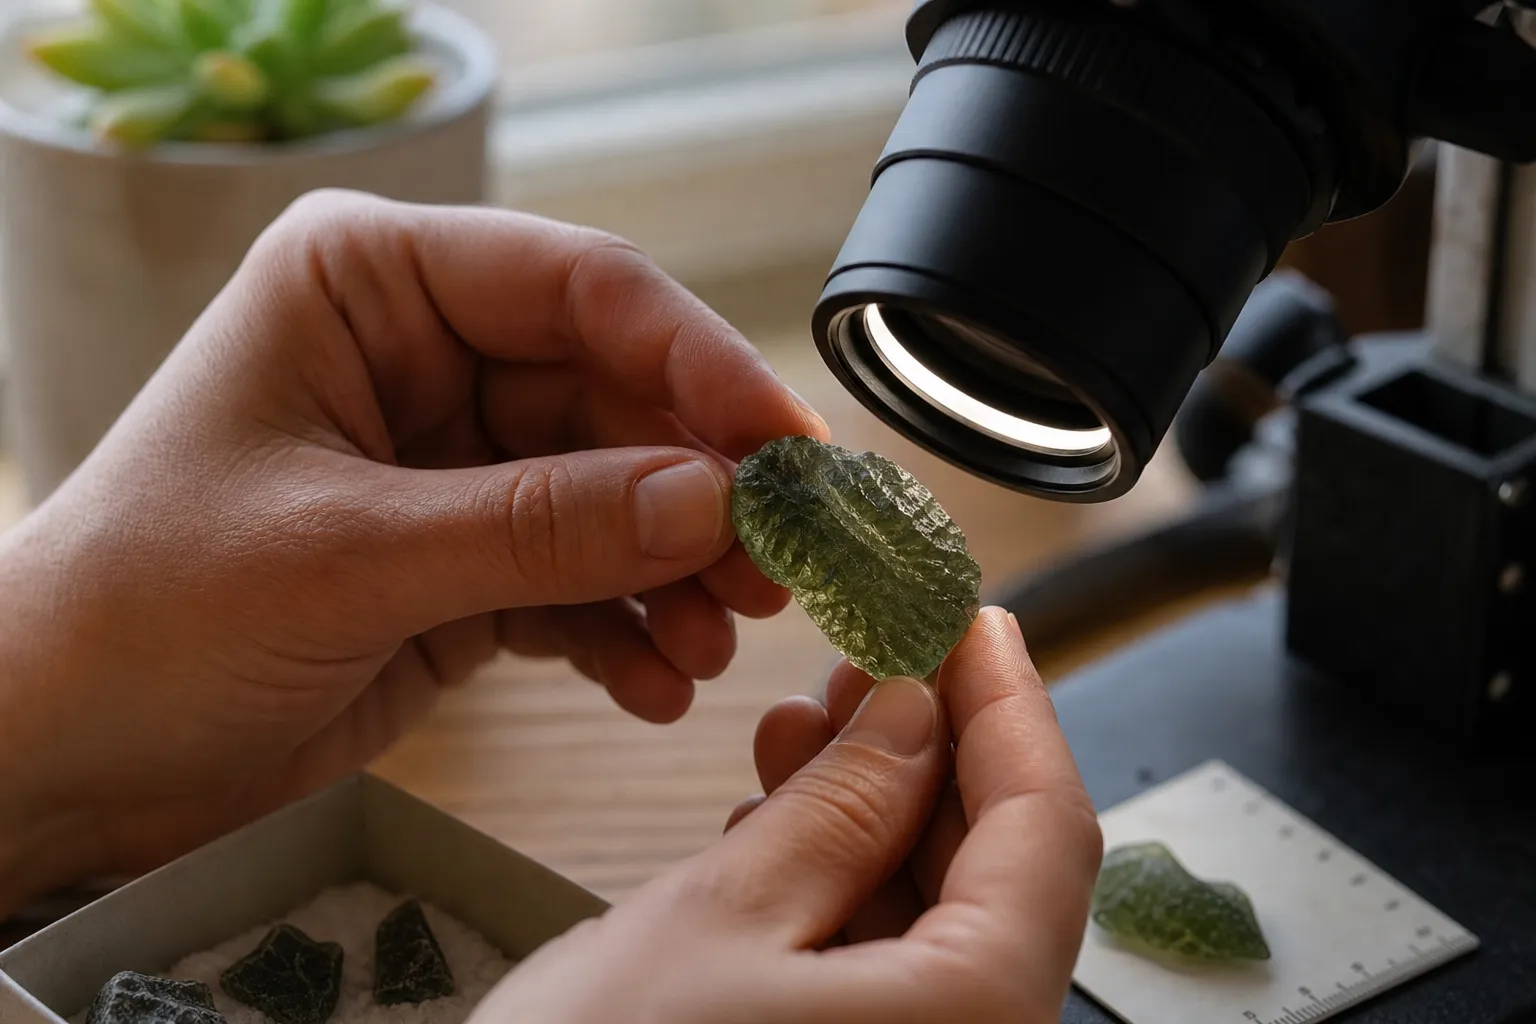
A close-looking ritual, not a verdict
A moldavite macro lens inspection works best when you treat it as a paced observation session rather than a hunt for one decisive sign.
Moldavite is a natural impact glass, and scientific studies describe it as a material that can show internal variation, pores, bubbles, flow-like structures, color differences, and lechatelierite-related particles or grains. Those features are real topics in moldavite research. The limit is that researchers often study them with tools far beyond a home macro lens, including X-ray micro-CT, electron microprobe analysis, spectroscopy, and other instrumental methods.
That matters because collector language can get more confident than the evidence allows. “I see bubbles, so it must be real” is too strong. So is “that pale streak is definitely lechatelierite.” A phone macro lens or clip-on attachment can reveal visible features; it cannot reliably assign origin, chemistry, or mineral identity on its own.
The ritual has two parts
- Connection: slowing down enough to know your stone’s surface, shape, color, and small visual character.
- Documentation: creating clear close-up moldavite photos that may help you compare views, ask better questions, or decide whether professional evaluation is worth pursuing.
Keep both parts in view, and the practice stays useful without becoming anxious or exaggerated.
Setting up the stone for macro inspection
You do not need an elaborate setup. The goal is to make visible features easier to observe without confusing them with glare, dust, fingerprints, or camera artifacts.
Start with moldavite in good lighting. Soft daylight near a window often gives a more readable view than a harsh flashlight pointed straight at the stone. If you use a lamp, move it around. Moldavite can look different when light passes through it, skims across the surface, or reflects back toward the lens.
Place the stone on a clean, neutral surface. White, gray, or matte black backgrounds usually work better than patterned cloth or shiny surfaces. If the stone is mounted in jewelry, inspect the exposed glass and the areas near the setting, but do not force anything open or press tools against it.
Then move slowly
- Begin without magnification. Notice the overall color, shape, thickness, surface relief, and areas of transparency.
- Move closer with the macro lens. Let the lens show you the surface before you start looking for “proof.”
- Change the angle. Photographing moldavite at angles can reveal features that disappear under straight-on light.
- Vary the light direction. Try backlighting, side lighting, and light from above.
- Take more than one photo of the same area. A single close-up can be misleading if glare, focus, or shadow dominates.
- Make brief notes. Write what you see: “small round voids near edge,” “pale thread-like streak,” “darker green zone,” “rough exterior ridge.”
That is where the ritual becomes grounding. You are not asking the stone to answer every question at once. You are learning its visual map.
What you may notice under a macro lens
A macro lens can make small details feel dramatic. That is part of the appeal, and also part of the risk. The closer you look, the easier it is to overread what you see.
Bubbles and small cavities
Moldavite research discusses pores, pore distribution, bubbles, and internal void-like features, especially in studies using X-ray micro-CT and optical methods. Some studied moldavites show variable pore sizes and shapes, and some types are more structurally heterogeneous than others.
At home, you may notice tiny rounded marks, small pits, openings, or bubble-like features. These can be worth photographing, especially if they appear in clusters or change visibility when the light angle changes.
But moldavite bubbles under a macro lens are not stand-alone proof of authenticity. Seeing bubbles does not automatically verify natural origin, and not seeing obvious bubbles does not automatically rule a stone out.
Use visual language in your notes:
- “round bubble-like feature”
- “open pit on surface”
- “tiny cavity visible near edge”
- “cluster of small voids”
- “feature appears only with backlighting”
That keeps the observation useful without turning it into a claim your lens cannot support.
Flow-like textures and color shifts
Some moldavite studies describe chemical and optical variation in the glass, including schlieren and laminae-like structures. In plain observation language, you may see subtle streaking, folded-looking zones, wispy bands, or shifts between green, yellow-green, brownish, and darker areas.
A macro lens may help you notice where the stone looks more transparent, cloudy, folded, layered, or uneven. These observations can be meaningful as part of learning the piece. Still, a visible flow-like pattern is not a complete identification method. Natural glass can be visually complex, and other glasses may also look interesting under magnification.
A better question is not, “Does this one streak settle everything?” It is, “Does this feature remain visible under several lighting angles, and can I document it clearly?”
Possible lechatelierite
Lechatelierite is a high-silica glass discussed in impact-related material research and in moldavite studies as particles, grains, or inclusions. It appears often in collector conversations because pale, thread-like, or grain-like features can stand out in close-up photos.
Here the boundary is important: lechatelierite in moldavite photos cannot be confidently verified by a casual macro lens alone. You may see a pale streak, thread, particle-like area, or internal-looking feature and mark it as possible. Naming it with certainty usually requires more than an at-home image.
A careful note might read:
- “pale thread-like feature, possible inclusion”
- “light-toned grain-like area visible at side angle”
- “feature resembles what collectors often discuss as lechatelierite, not verified”
This preserves curiosity without overstating inclusion verification.
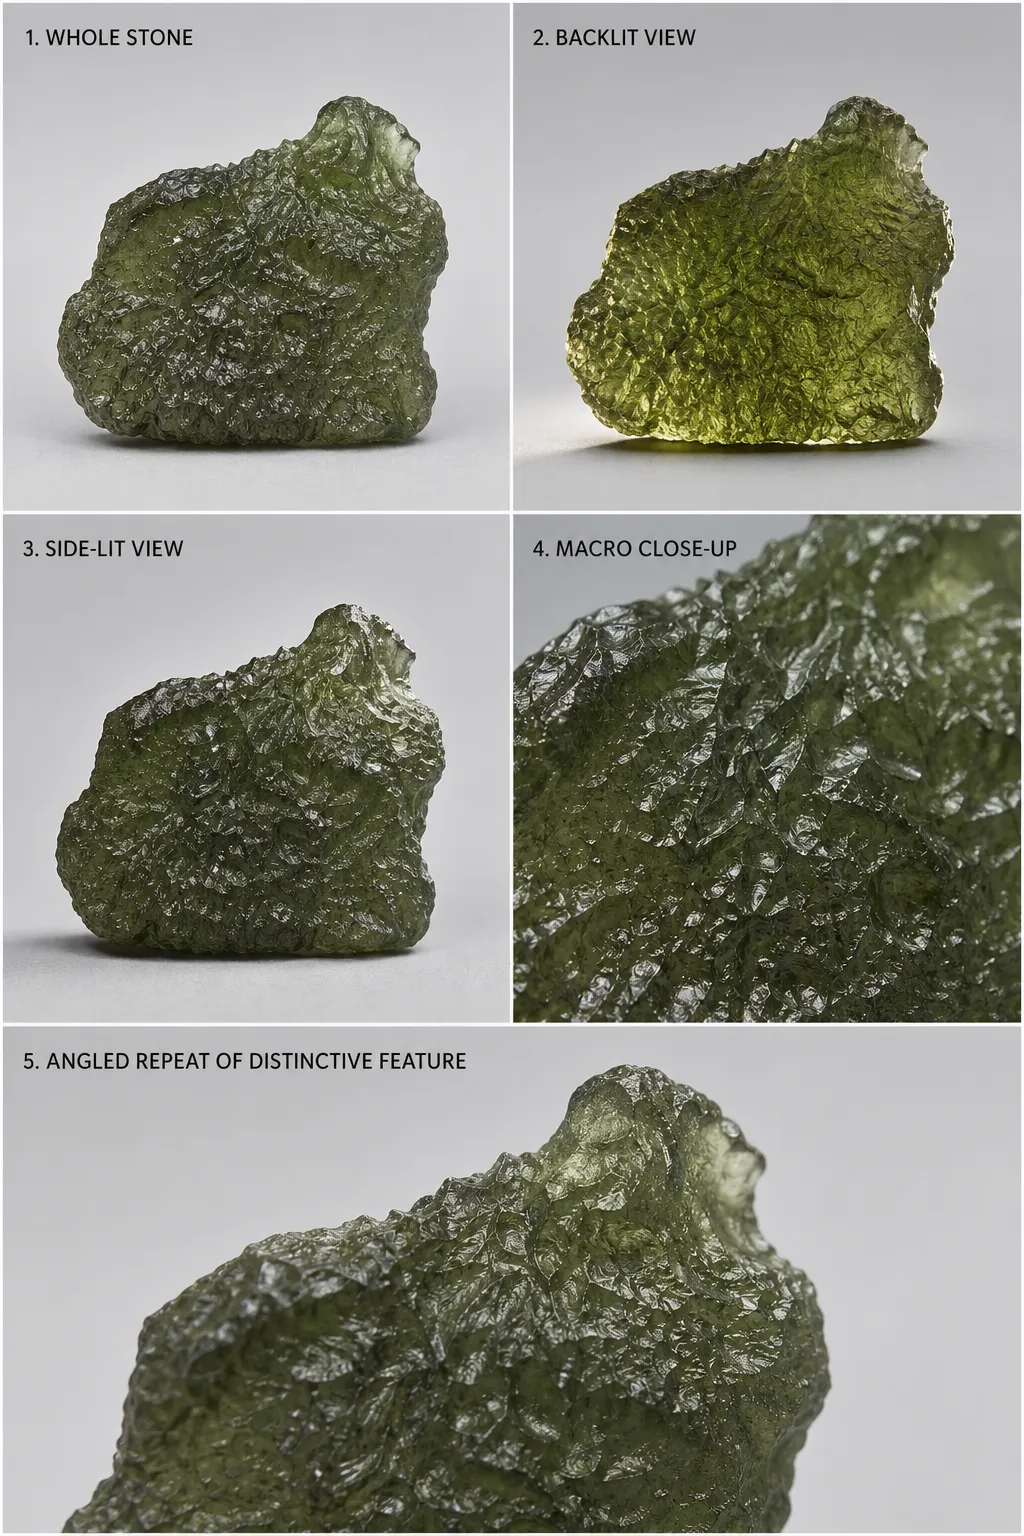
Photographing moldavite at angles without fooling yourself
Macro photography is sensitive. A tiny change in focus or light can make a feature appear sharper, larger, deeper, or more mysterious than it is. The most useful close-up moldavite photos are not always the most dramatic ones. They are the most repeatable.
Build a small image set instead of relying on one “best” photo
- One whole-stone photo in normal light, to show scale and overall appearance.
- One backlit photo if the stone is translucent enough for light to pass through.
- Two side-lit photos from different directions, to reveal surface relief.
- One macro close-up of any bubble-like, pore-like, or streak-like area.
- One angled repeat of the same feature, to see whether it persists or disappears.
If possible, include a scale reference in at least one image, such as a ruler. This does not authenticate the stone, but it makes later comparison more coherent.
Avoid heavy filters, strong sharpening, or extreme color correction if your purpose is observation. Editing can make a photo more striking while making it less reliable as a record. If you adjust brightness, keep the original version too.
The quiet rule is: photograph to remember, not to persuade.
Where macro inspection helps—and where it stops
A macro lens is helpful for noticing moldavite visible features. It can support a more careful relationship with a stone you already own. It can help you decide whether an area deserves a clearer photo, a second opinion, or formal evaluation.
It can also make the object feel less abstract. Instead of “a powerful stone” or “a suspicious stone,” it becomes a specific piece of glassy material with textures, scars, colors, and oddities.
A home macro session cannot reliably answer
- whether the stone is definitively natural moldavite;
- whether a suspected inclusion is truly lechatelierite;
- whether bubble patterns prove origin;
- whether surface texture alone separates genuine material from imitation;
- whether the stone’s market value is supported;
- whether personal or spiritual effects will occur.
For confident identification, especially with high-value purchases, qualified gemological or laboratory evaluation is the more appropriate path. The scientific work used to characterize moldavite does not rely on ordinary close-looking alone; it uses instrumental methods to examine chemistry, pore structure, internal texture, and other features beyond what a consumer macro lens can resolve.
That does not make the ritual pointless. It gives it the right size: macro lens for attention, documentation, and orientation; not macro lens as final authentication.
Observation prompts for a calmer session
If close-looking starts to feel tense, return to prompts that describe rather than judge:
- What color does the stone show in daylight before magnification?
- Where does it become more translucent or more opaque?
- What changes when light comes from behind?
- Are there tiny cavities, bubbles, pits, or pore-like marks?
- Do any features appear clustered, stretched, folded, or isolated?
- Are there pale streaks or grain-like areas that should be photographed from another angle?
- Which details remain visible in more than one photo?
- Which details disappear when the light changes?
- What can I honestly say I observed, without turning it into proof?
The last question is the anchor. It keeps the practice intimate without making it credulous.
Many people come to moldavite with symbolic language already attached to it: transformation, intensity, personal change, spiritual attention. If that language is meaningful to you, the macro ritual can become a way of slowing the story down. You are not asking the stone to perform. You are looking at its actual surface, its green body, its irregularities, and its visible structure. Any personal meaning you draw from that should remain personal, not a claim that the lens has confirmed an unseen effect.
A simple way to record what you saw
After the session, write a short record while the observations are fresh:
- Date and lighting conditions.
- Lens or camera used.
- Whether photos used front light, side light, or backlight.
- Visible bubbles, pores, pits, or cavities.
- Any color shifts, streaks, or flow-like areas.
- Any possible inclusions, clearly marked as unverified.
- Whether you plan to seek professional identification.
This kind of record is more useful than a dramatic conclusion. If you later compare the stone with another specimen, ask a specialist, or look into moldavite lab testing guidance, you will have organized observations instead of scattered impressions.
The microscope ritual is not about forcing certainty out of a small green glass. It is about learning how to look without rushing. Under a macro lens, moldavite can become more visually intimate: less like an online claim, more like a specific object with texture, depth, and limits.
That is enough for a ritual. It is not enough for final authentication—and knowing the difference is part of seeing clearly.