The Modern Verification Protocol: Bypassing Advanced Replications in Tektite Identification
Pay attention. Relying on outdated visual inspections to authenticate tektites leaves collectors vulnerable to modern replication techniques. Industry observers report a massive shift in the reproduction market.
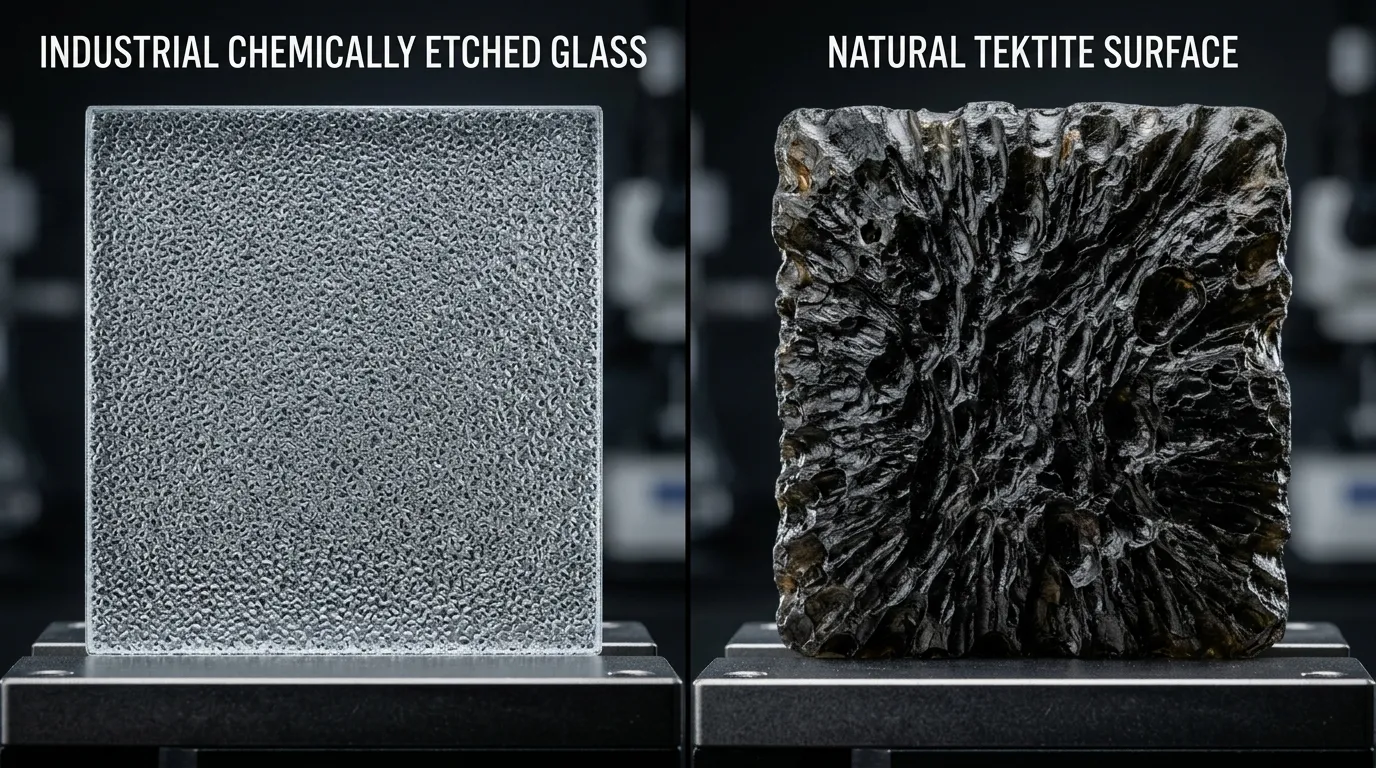
Fabricators no longer simply melt beverage bottles and chip the borders. Current manufacturing operations focus on etching green man-made glass using industrial chemical baths to simulate the natural weathering, pitting, and surface texturing typically developed over millions of years underground.
Consequently, exterior geometry, mass, and surface topography no longer serve as reliable authentication metrics. Proving authenticity requires examining the interior structure.
However, practitioners consistently encounter a major obstacle: it is notoriously hard to see inside transparent materials when the outer layer remains heavily frosted, deeply grooved, and irregular. Ambient light scatters, blocking internal visibility.
01 The Three-Dimensional Diagnostic Framework
To circumvent this optical interference, execute a refractive index (RI) matching immersion test. Apply this diagnostic framework to determine whether a specimen aligns with natural tektite characteristics or factory-produced origins:
The Refractive Boundary Evaluation
Does the outer surface visually disappear when submerged in a matching fluid?
The Internal Inclusion Hunt
Can observers identify high-temperature fused silica anomalies?
The Gas Bubble Profile
Do the trapped cavities appear perfectly spherical (typical of factory production) or elongated (associated with atmospheric entry)?
Prepare your workspace and assemble a functional testing environment directly on your benchtop.
⚙️ Core Prerequisites & Equipment Alternatives
Before initiating the physical extraction of optical data, assemble the testing rig. Procure every item listed below.
Tools Required
- ✔ A 10x or 20x Jeweler's Loupe: Obtain a high-quality hand lens and back light to visually penetrate the core of the specimen.
- ✔ A Clear, Flat-Sided Glass Receptacle: Select a small, square glass container to eliminate optical distortion generated by curved walls.
- ✔ Pure White Granulated Sugar: Measure out at least two cups. (Do not substitute with brown or raw variants).
- ✔ Liquid Dishwashing Soap: Secure standard liquid dish detergent.
- ✔ A High-Intensity LED Flashlight: Grab a tactical LED light source or a mobile phone LED.
- ✔ Tweezers or Hemostats: Use these for suspending the target object.
Alternative 1 (The Commercial Route)
Practitioners occasionally utilize dedicated testing fluids—an optically dense liquid with a refractive index specifically calibrated between 1.48 and 1.50. However, industry guidelines indicate these commercial liquids require strict handling protocols, specialized ventilation, and aggressive solvents for cleanup.
Alternative 2 (The Benchtop Route)
To bypass specialized chemical handling, use concentrated sucrose solution (heavy sugar syrup). Hobbyists report this method offers a highly accessible, easily washable alternative that closely mirrors the 1.50 RI of natural tektite silica.
🛠️ Step-by-Step Execution
The Immersion Protocol: Adhere to the operational parameters strictly. Precision dictates the outcome.
Synthesizing the Refractive Index Matching Fluid
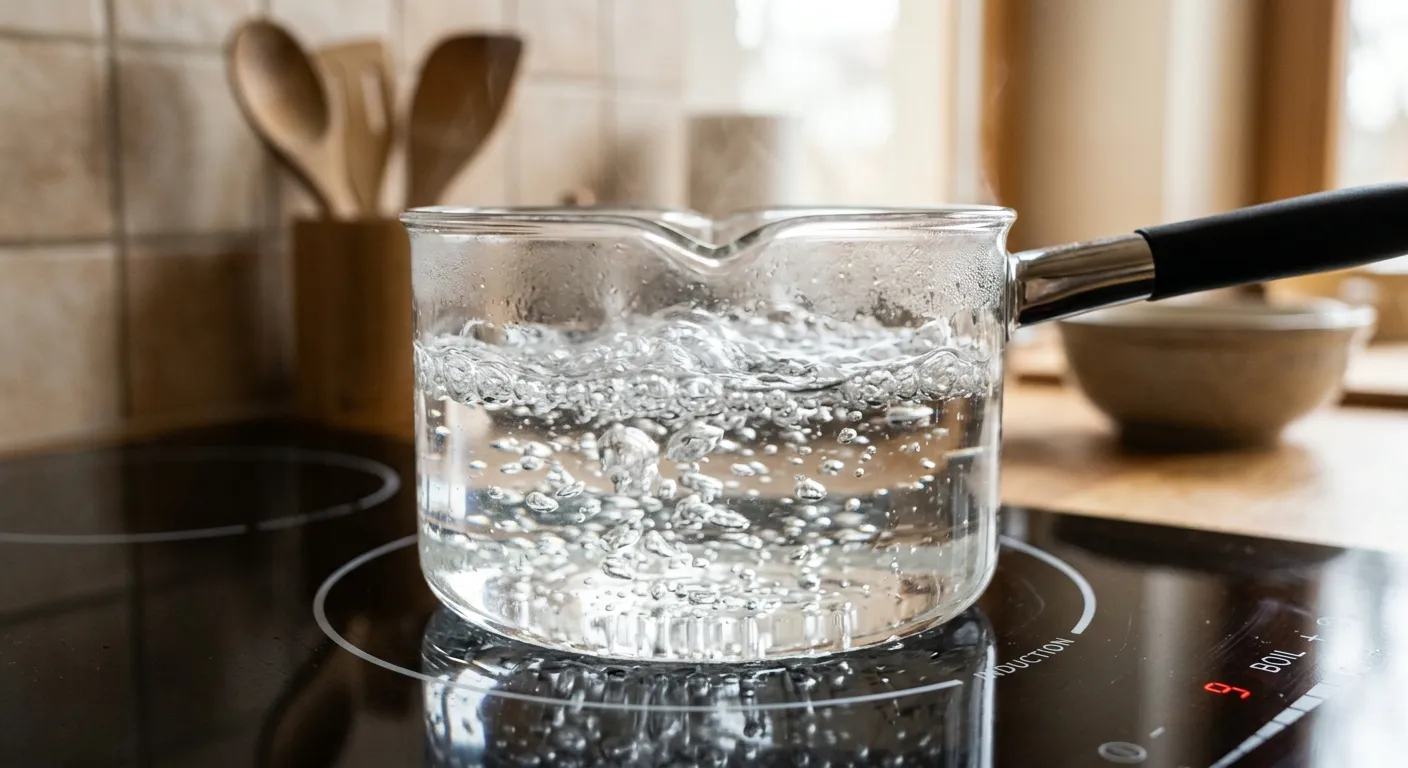
Combining cold water and sugar fails to achieve the necessary light-bending properties. Create a supersaturated solution. Combine 2 parts white granulated sugar with 1 part water inside a standard cooking pot. Position the pot on a stove over medium heat. Stir the mixture continuously until the liquid achieves total clarity. You must briefly boil the solution to force complete dissolution and drive out trapped atmospheric gases from the water.
Prevent the mixture from reaching a candy-making temperature. Maintain the boil for exactly 60 to 90 seconds. This duration effectively purges gases without turning the liquid yellow. Absolute clarity is required.
If the liquid turns yellow or amber, the sugar has caramelized. Discard the batch immediately, wash the container, and restart the sequence. Amber fluids alter the color profile of the specimen, invalidating the visual results.
Surfactant Conditioning and Degassing
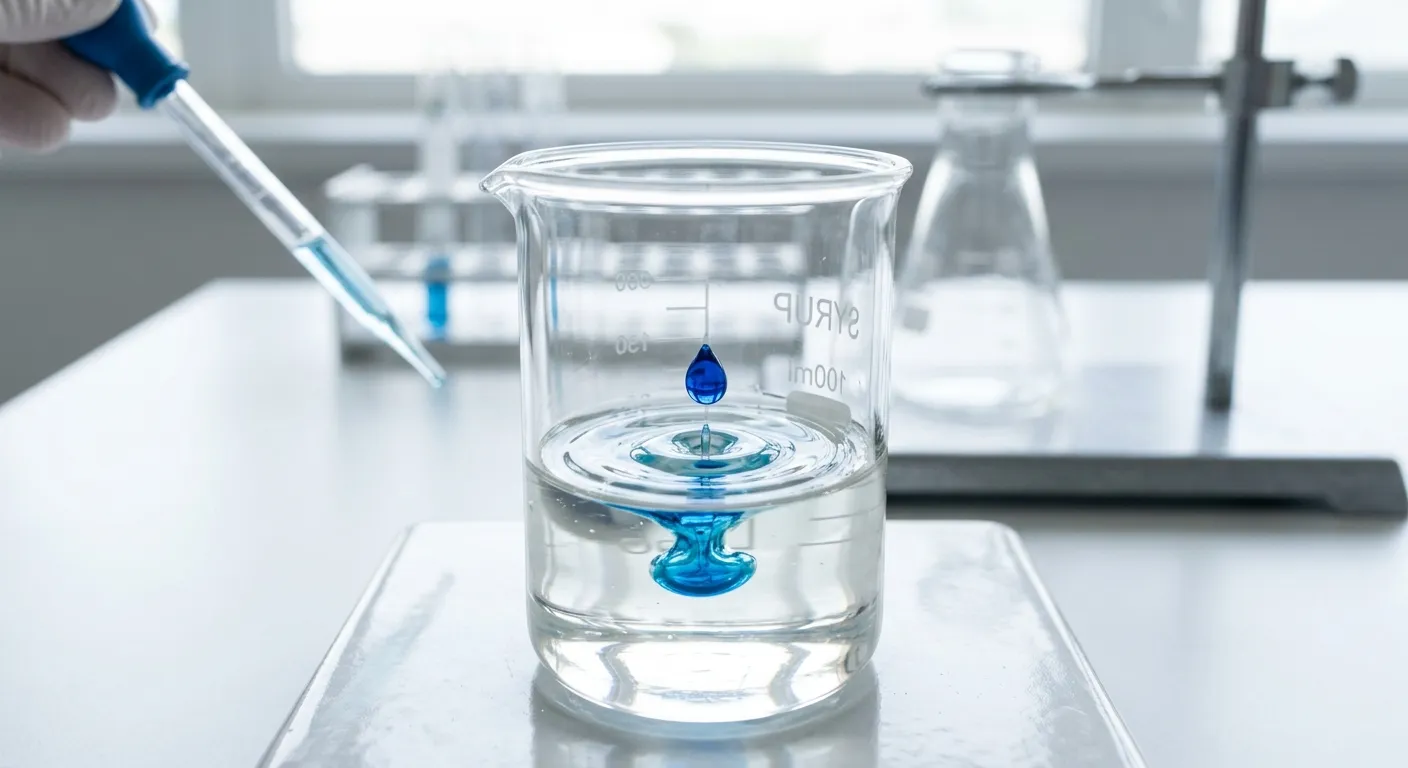
Remove the heated mixture from the burner and allow it to reach room temperature naturally. Keep the container out of the refrigerator, as rapid cooling triggers immediate crystallization and destroys optical transparency. Once the fluid feels completely cool, dispense a couple drops of dishwashing detergent directly into the vessel and stir the contents with extreme care.
Detergent acts as a crucial surfactant. Natural tektites possess microscopic surface tension that repels liquids. The soap breaks this tension, allowing the viscous fluid to coat every microscopic crevice of the textured surface. This physical action establishes a seamless optical bridge between the liquid and the target.
If aggressive stirring generates a layer of soapy foam, the visual field becomes obstructed. Grip a section of paper towel and lightly skim the surface to extract the foam before moving forward.
The Immersion and Backlighting Setup
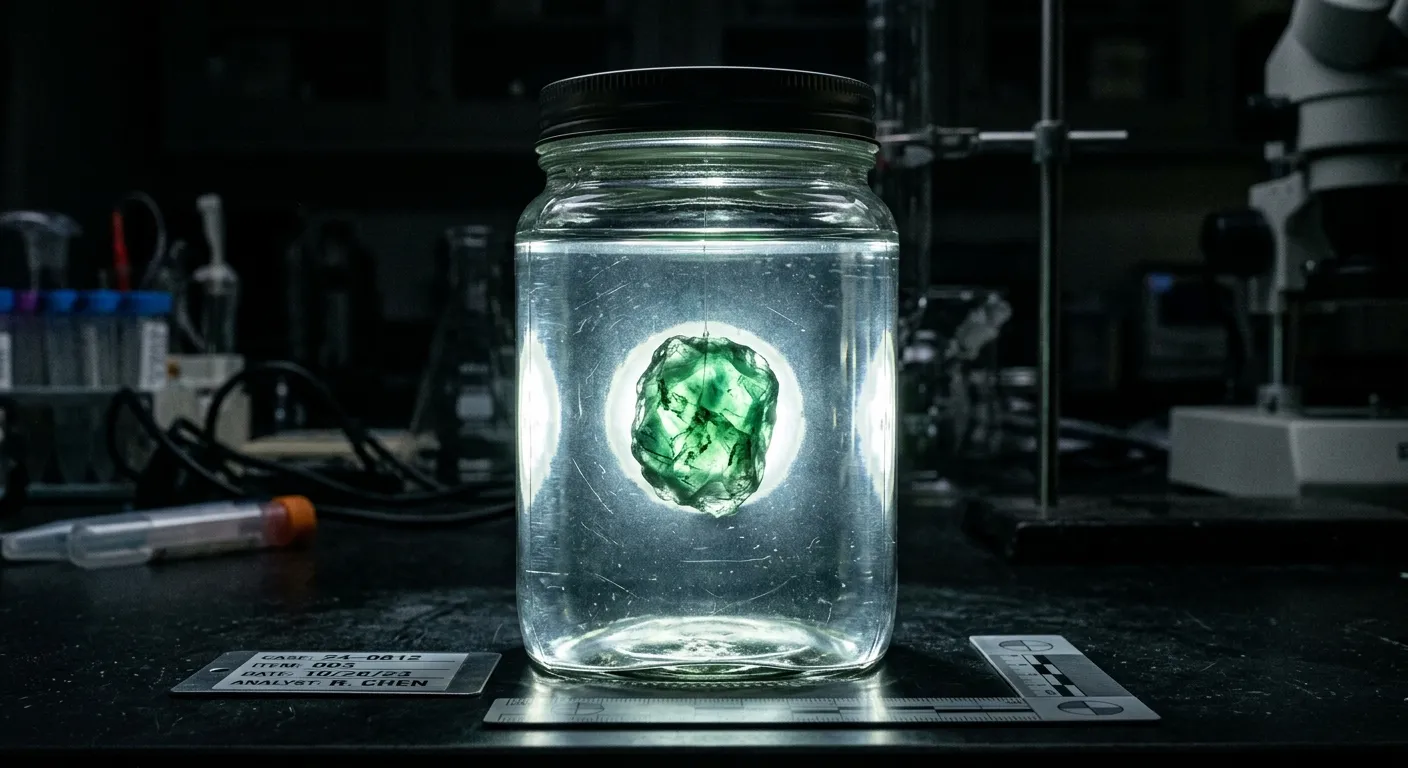
Transfer the cooled, conditioned fluid into the flat-sided glass receptacle. Grip the specimen with tweezers and lower it steadily into the center of the liquid. Extinguish all ambient overhead lighting in the room. Position the high-intensity LED flashlight directly behind the glass container, directing the beam toward your viewing angle. You are now immersing your moldavite in syrup and backlighting it simultaneously.
Align your viewing lens perfectly level with the target. You must focus through the glass jar directly into the internal structure. Because the fluid's RI matches the target, the rough exterior visually dissolves, rendering the object highly transparent.
If the target remains opaque and visually textured, the fluid lacks sufficient density (insufficient sugar ratio). Extract the target, incorporate an additional half-cup of sugar into the batch, repeat the heating cycle, cool, and execute the test again.
Hunting for the Lechatelierite Signatures
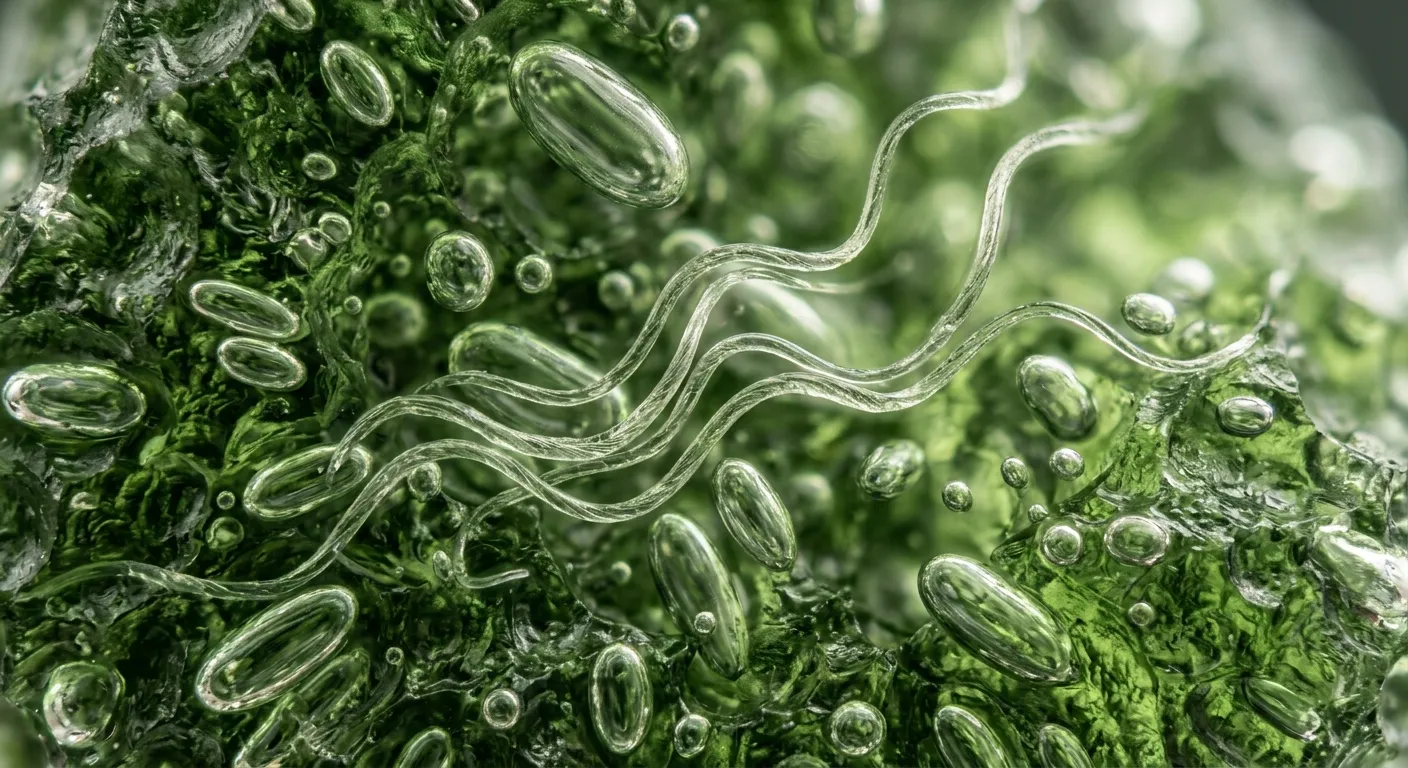
Deploy the 10x loupe or configure a camera to establish a macro FoV against the light. At this stage, operators must look for lechatelierite needles. Industry documentation identifies these high-temperature fused silica inclusions as irregular, transparent formations resembling wavy wires or chaotic root systems suspended within the matrix. Manufacturing facilities cannot replicate these structures, as their formation requires instantaneous, extreme thermal events characteristic of atmospheric impacts.
While scanning for wavy structures, evaluate the gas cavities. In natural specimens, observers frequently note elongated or stretched bubble formations resulting from aerodynamic forces during atmospheric transit.
If the internal structure reveals perfectly spherical bubbles and lacks wavy silica formations, the specimen exhibits standard characteristics of manufactured glass. Cease the evaluation protocol. Consider exploring standard return procedures with the vendor.
🛑 Critical Mistakes to Avoid
Prevent procedural errors from compromising the evaluation process. Avoid these three operational failures:
The Error: Relying exclusively on printed certificates of authenticity supplied by distributors.
The Consequence: Collectors frequently acquire commercial replicas. Fabrication syndicates mass-produce accompanying paperwork. Printed documents with foil seals hold zero diagnostic weight in the current market.
The Fix: Disregard the accompanying documentation and execute the immersion protocol. The physical properties must dictate the conclusion.
The Error: Presuming that flawless geometric shapes or perfectly uniform spikes indicate premium natural quality.
The Consequence: Buyers select manufactured molds. Modern replication facilities utilize precision-machined molds to generate symmetrical geometries rarely found in natural environments.
The Fix: Disregard the exterior silhouette. Natural specimens frequently exhibit irregular, chipped, or asymmetrical profiles. Base conclusions strictly on internal lechatelierite verification.
The Error: Submerging the target into heated, un-degassed liquid lacking surfactant.
The Consequence: Rapid thermal shifts can physically fracture fragile structures, while the absence of surfactant traps micro-bubbles against the exterior, completely obstructing internal visibility.
The Fix: Enforce the ambient cooling period strictly and always incorporate the detergent. Methodical execution preserves the structural integrity of the target.
🧠 Hardcore Technical FAQ
Q: Why do verification methods from previous years fail against current market replicas?
A: Replication frameworks constantly advance. Previously, replicas consisted of highly polished, inaccurately colored materials easily identified without magnification. More recently, manufacturing centers refined chemical etching techniques, closely mirroring the matte, deeply sculpted topography of natural specimens. This shift established a new visual baseline, rendering older, naked-eye visual checks completely obsolete.
Q: Can operators substitute mineral oil for the heated sucrose solution?
A: Operators can utilize mineral oil, but industry veterans strongly advise against it. Mineral oil presents an RI of approximately 1.46, which approaches the target range (1.48–1.54), but it requires intensive post-test cleaning. Due to the highly porous and pitted surface of the target, oil penetrates deep into micro-crevices. Practitioners report spending extensive time applying harsh solvents to remove the oil, risking physical damage to delicate formations. The sucrose solution rinses away immediately under warm water.
Q: The immersion test revealed a completely clear interior devoid of bubbles or wire formations. Does this indicate a premium-grade natural specimen?
A: No. Industry literature states that completely flawless, inclusion-free natural tektites of significant volume do not exist. The extreme physics of atmospheric impact guarantee the presence of trapped gases and fused silica strands. If the interior appears optically perfect, it exhibits the definitive traits of manufactured factory glass.
Q: Does the "water beading" observation provide reliable diagnostic data?
A: No. Outdated sources occasionally suggest that immediate water shedding indicates a natural origin. This remains unverified. While water does bead on natural specimens due to surface tension across microscopic ridges, it behaves identically on chemically etched commercial glass for the exact same physical reasons. Discard this metric. Focus entirely on identifying internal lechatelierite structures.